By Jim McGowan
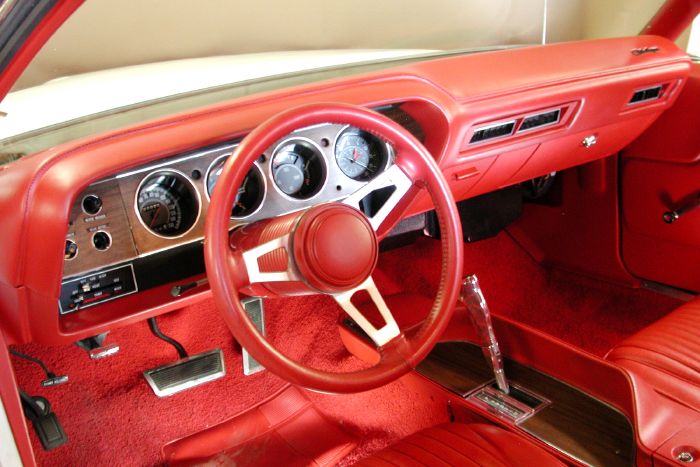
The ’70-’74 Challenger and ‘Cuda have emerged as two of the most popular body styles ever produced by Chrysler. That’s substantiated by the new retro look Challenger, with the possibility of a retro ‘Cuda in the future. Just Dashes has been restoring the interiors of these collectibles for over two decades, and we followed along as they removed, restored and replaced the pad in a ’70 Challenger R/T.
The interior designers of these cars had it all figured out. We’ve removed a lot of dashes in many different makes and models, but the Mopar boys did it right. It appears that the dashes were completely assembled out of the car, then the metal frame and pad installed onto two bolts, one on each side of the car by the kick panels. The pad, now leaning outward onto the steering column, or possibly before the column was installed, allowed room to connect all the gauges, controls, etc., and then the assembly could be pushed back into place and secured at the front edge. Brilliant! At that time they never thought about anyone dismantling it almost four decades later.
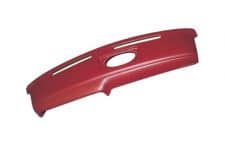
This pad has warped along the front edge from heat, and the top vinyl skin was cracked and split due to the deteriorating original foam underneath. The owner didn’t want to tackle the R&R himself, so the car was dropped at Just Dashes for a complete interior restoration. The ’70 Challenger pad has an actual thread stitch across the top front edge of the pad from side to side. Just Dashes actually sews that correct stitch into each ’70 pad to make it factory stock.
Since they had no one on staff that worked on the Hamtramck E-body assembly line, the Just Dashes removal is a little harder than the install at the factory. All the electrical connections, cable connections, etc., have to be labeled during removal in order to know where everything goes when it’s time to reinstall. We documented the removal process and added a few additional high points so if you ever attempt this job, it will be a lot easier to figure out. We created a hand drawn schematic from the back of the gauge cluster and labeled each connection on the wire and the drawing. It worked very well. Before starting, disconnect the battery and remove the front seats for more working room.
Here’s the step-by-step removal and an abbreviated reinstall. Use labeled plastic bags for all screws, bolts, misc. parts, etc. for ease of installation and so you don’t lose original hardware. Here goes!
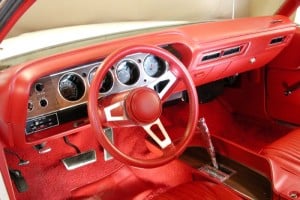
The completed dash restoration is a knock out with the restored pad and gauges, new control and instrument bezels and powder coated metal frame. The removal and replacement can be accomplished with normal hand tools and a little patience.
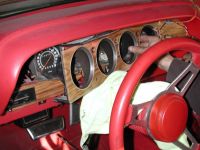
We began by removing the kick panels on each side of the car. Also loosen two 7/16-inch nuts holding the steering column in place. It will drop down about 1/2-inch to provide a little more room to remove the gauge cluster.
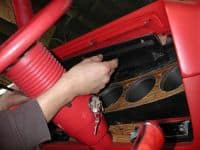
Remove the Phillips head screws from the metal panel under the front lip of the dash pad. Gently pull the panel down. Bag and label these for reinstallation.
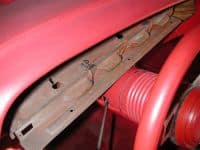
This panel has the wiring and bulb housings that illuminate the gauges. Carefully remove the wires and housings and put the panel safely aside. You might want to scuff and paint this piece before reinstallation.
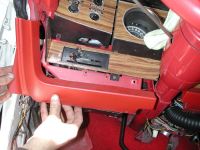
Remove four Phillips head screws from the lower valance panel and pull the panel free of the dash. Again bag and label the hardware.
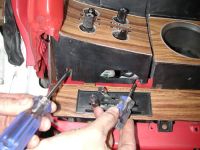
Remove four Phillips head screws securing the headlight, wiper, and etc. control panel. Then pull out on the right side and gently push in on the left side to free the panel.
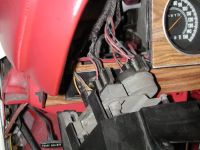
Use masking tape to label each connector on the wire and the plug-in attached to the control panel. Then pull off the knobs at the front and remove the panel from the car.
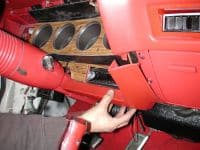
Remove Phillips head screws and speed nuts at back or the lower right hand valance panel and carefully pull it forward and down. It doesn’t need to be completely removed.
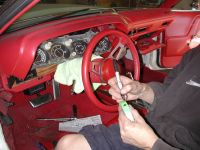
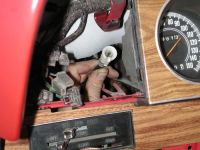
Remove four Phillips head screws securing the instrument cluster and pull the cluster forward. Use masking tape to label each wire and matching connector for trouble free reinstallation.
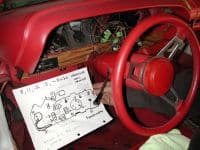
We made a crude drawing of the back of another cluster and again marked each wire and connection on the paper. Better to be safe than sorry. Digital photos can also help identify each connection.
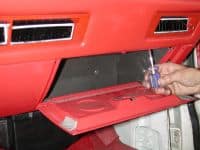
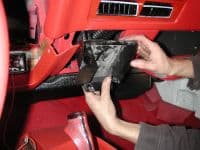
The glove box liner is retained with 6 Phillips head screws. Remove them and drop the liner out from the bottom. This car is equipped with an aftermarket A/C unit, so we disconnected the hose fittings from the dash where required.
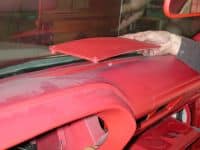
Remove the four Phillips head screws securing the speaker grille and carefully lift the grille free. This plastic is usually brittle from the sun, so proceed slowly. Replacements are available from Just Dashes.
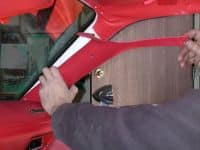
Now carefully remove the pillar post hard plastic moldings from both sides of the windshield. You’ll need to remove the molding above the side glass as well to pull the pillar molding free.
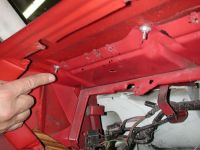
Working from under the dash, find and remove all the speed nuts retaining the dash to the metal frame at the front and rear. A good light will be handy here.
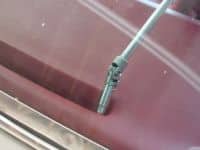
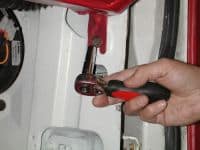
Remove four 7/16-inch bolts, one on each side of the defroster vents using a swivel socket to clear the windshield glass.
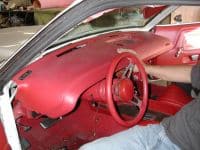
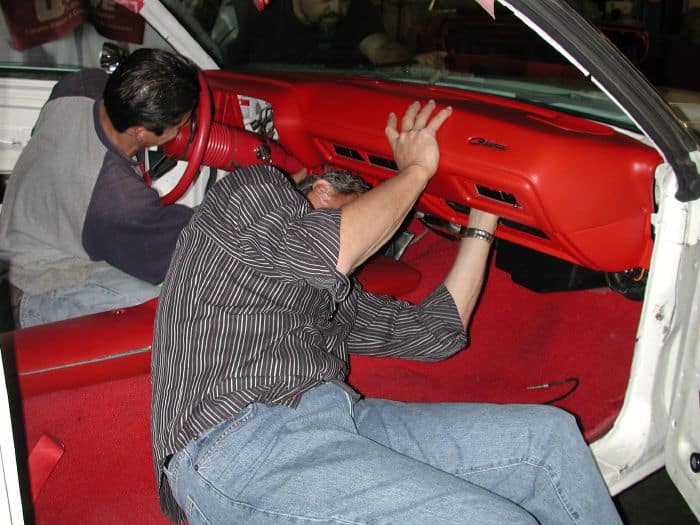
The pad and metal frame assembly can now be pulled forward and rested on the steering column. It would be advisable at this point to have a helper handy if you choose to remove the whole assembly. After we removed the pad we also removed the metal frame for powdercoating.
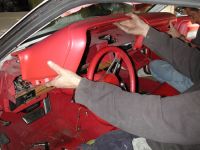
Lift the pad out and up over the steering wheel and out the passenger side of the vehicle. This eliminates having to go around the steering wheel. And with the seats removed the job is easy.
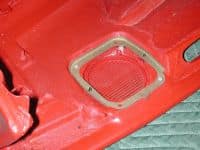
This pad has the stereo option right and left speaker grilles. The grilles are attached using these metal plates from the backside of the dash pad.
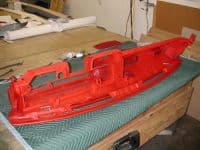
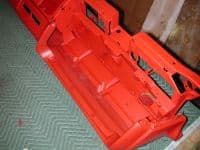
Here is the metal frame just back from the powder coater. Almost any factory color can be duplicated in powder coating, and it is far more durable than paint.
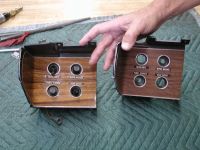
The previous owner had given the original control bezel wood grain a coat of clear varnish, which really looked cheesy. So the new owner opted for correct reproductions of this and the gauge facing wood grain panel as well. You can see how faded the original on the left appears.
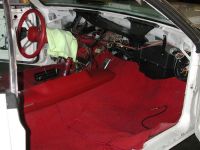
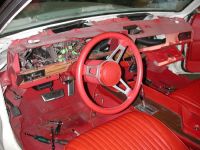
Here’s the dash area completely stripped out. Now is the time to inspect all wiring, ducts, etc., and clean or replace as needed. It’s a lot easier with nothing in the way.
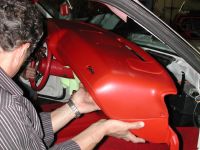
Again, having a helper to assist in the reinstallation protects against damaging the pad or powder coat on the frame. The metal frame is installed on those two side bolts and then pushed into position.
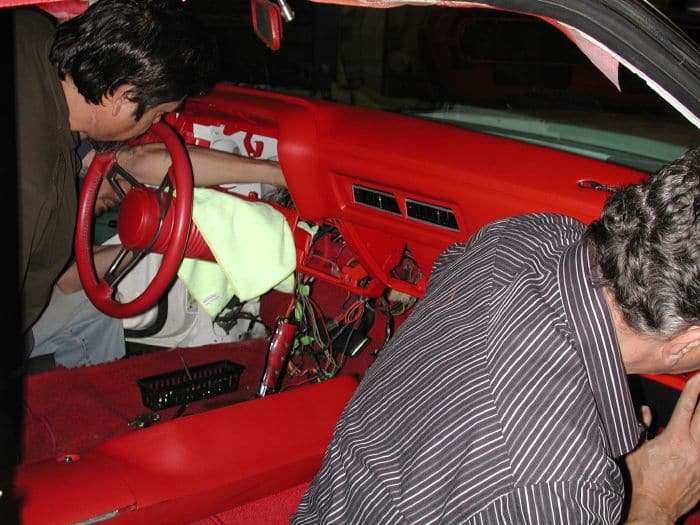
All the wiring is sorted so nothing is getting pinched or hung up under the pad and frame. The studs at the front of the pad will take a little wiggling to get seated back in the metal. Patience is required here.
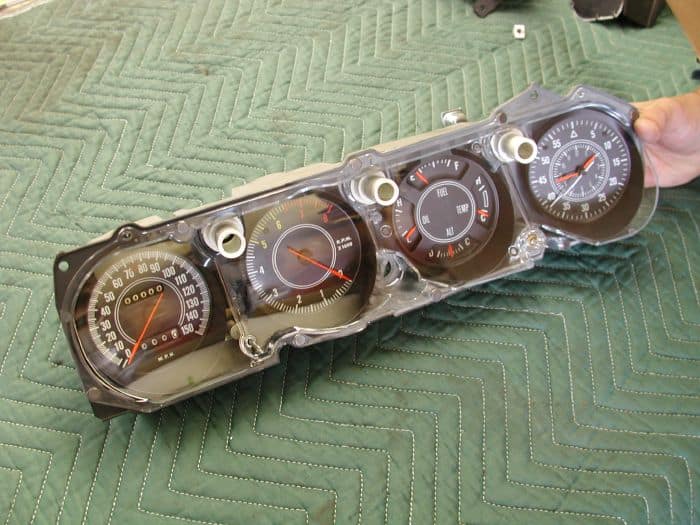
Just Dashes restored the original instrument cluster and polished the clear plastic lens. It looks like a factory new unit.
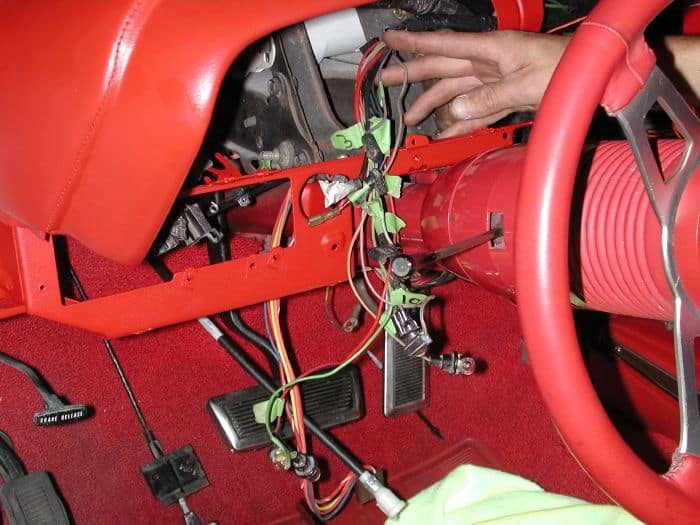
Here’s the wiring with tape labels ready to plug into the gauges and other dash controls. We used the drawing and double-checked the position of each connection. An electrical wiring schematic would also be handy.
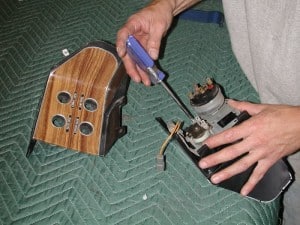
We removed the control switches from the old bezel and reinstalled them into the new reproduction. Again, this is a great time to clean and detail these items while they are accessible.
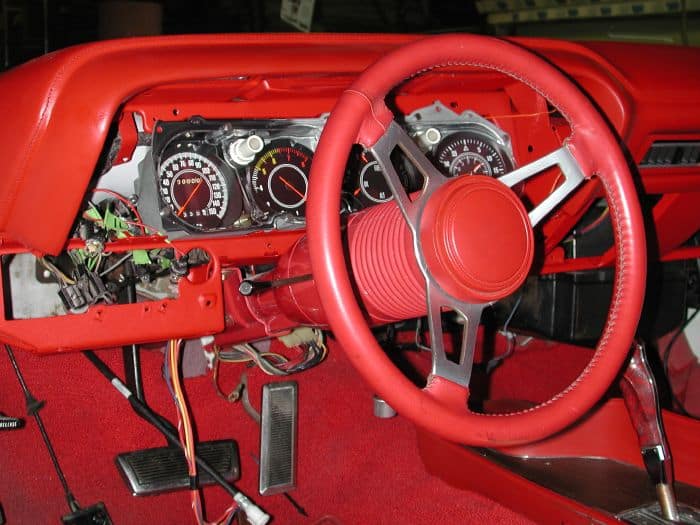
The gauges are now set into position and secured with the six original screws. We left all the tape identification on the wires just in case we made any mistakes.
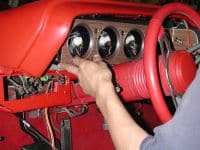
Next the new repro gauge bezel is installed and secured to the cluster. The right side slides in first under the edge of the dash pad and then seats onto the cluster. The new control panel also slides in at the left side and under the dash pad material, then butts up to the left side of the instrument bezel. All the connections are made and the original screws reinstalled.

