Dashboard design evolved over the years from straight, almost vertical panels in the ’20s to beautifully molded metal sculptures in the ’50s. It’s a part of the interior that the driver has to constantly look at while driving, so car manufacturers thought it should be functional as well as attractive. In the ’30s and ’40s dashes were wood grained metal and later painted to match the color of the car or the interior. One thing they all had in common was they were structurally sound because they also had to support the steering column. A strong dashboard was a good thing in many ways, but in case of an accident they could be very dangerous to the occupant.
In the late ’50s and early ’60s padded dashboards were introduced by many of the car manufacturers as a way of protecting the driver in case of an accident. The padded dashes were softer than the metal dashes, so they may have helped add a little protection, but most buyers purchased them because they looked nice. In many cases a padded dash was optional and had to be specifically ordered by the car buyer, and that was the case with this ’65 Pontiac dash being restored at Just Dashes. In ’64 and ’65 a padded dash was optional, so the buyer who ordered a GTO for cruising around town could purchase the optional padded dash, but the fellows who were buying the car to drag and street race would leave that option box unchecked, because to them it was just additional weight.
Today most GTO/LeMans restorers prefer a car with as many options as possible so most want a padded dash. The problem restorers are facing is the padded portion of the dash is usually weather worn and cracked. Depending on where you live the dash could reach temperatures as high as 120-degrees in the summer or drop to 40-degrees below in the winter months. After years of expansion and contraction by the foam padding, the original vinyl material would eventually get brittle and crack as well. Pontiac used a very strong vinyl, which they called Morrokide in the ’60s, so these dashes are generally in better condition than vinyl materials from other manufacturers, but they can still take a beating from Mother Nature.
If you have a dash pad that is torn or cracked there is a solution regardless of year, make or model. Just Dashes in Van Nuys, California can turn that old dash pad into one that looks brand new. We followed an early GTO dash pad through the restoration process and were amazed by the Thermo Vacuum Forming process and their quality of craftsmanship. There is a good deal of work involved in recovering a dash, and most of it is done by hand, so the cost of having your dash recovered is actually very reasonable when you take that into consideration. The company has recovered dash pads for every make and model of car and this GTO/LeMans dash pad is probably one of the easy ones. The material used in the recovering process is black but the company has a coloring section that can dye the dash to match your original interior color or create a custom color. They have done a vast amount of research to get the dyes used to match the interior colors exactly and also offer do-it-yourself vinyl dye kits for professional quality at home interior touchup or color changing.
Just Dashes also can restore 50s and 60s dielectric multi-color door panels because they are not being reproduced. The company began refurbishing door panels for many car makes and models and the ones we have seen are exact reproductions. They even matched the interior panels for a ’64 Dodge we were working on and the panels were perfect right down to the Mylar chrome tape that Dodge used. If you are restoring a car and have door panels that are less than perfect we recommend giving Just Dashes a call to see if they can restore the ones you have. In this article we will show you how a GTO/LeMans dash pad undergoes a concours resto from start to finish.
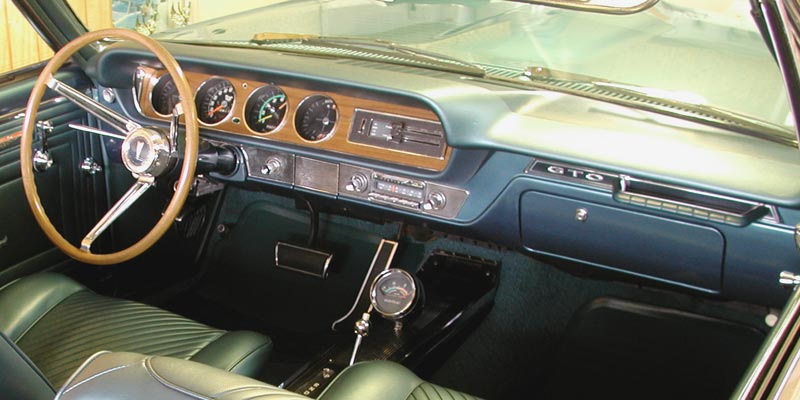
Pontiac LeMans and GTOs of the ’64 and ’65 vintage could be ordered with an optional dash pad, and today they are very desirable when enthusiasts are restoring the cars. Once restored, like this example, it’s the finishing touch for your interior.
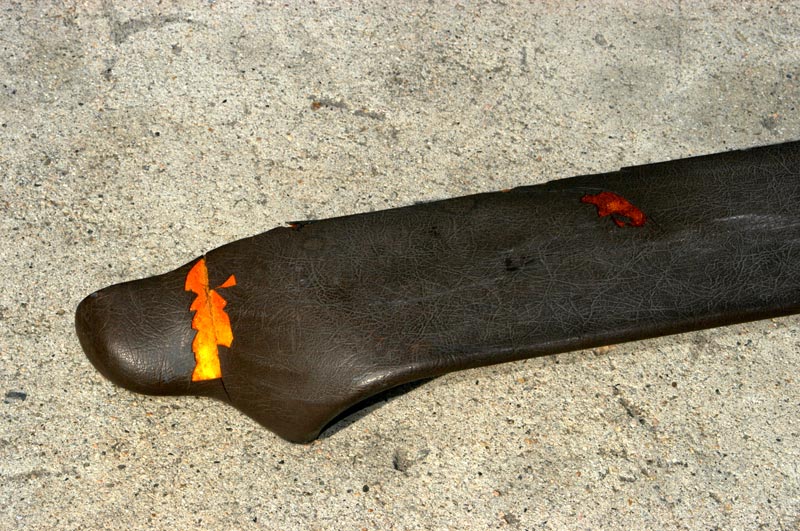
A close look reveals a crack in the corner of the dash. In the western states the heat will turn the dash material brittle and cracks such as this one become commonplace.
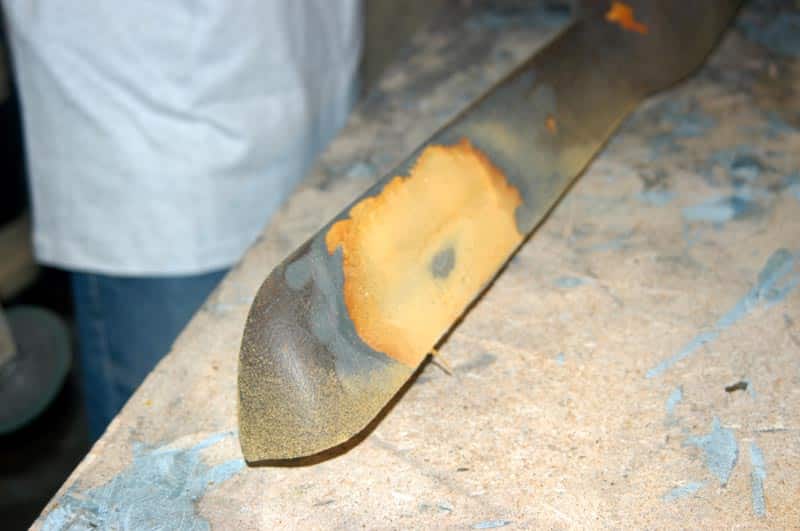
The old material has to be removed first and that is done with a small hand grinder. The grinder will remove the vinyl first and if the padding underneath is still in good condition it does not need to be removed. If it is crumbling the material can be sanded off to bare metal. This dash pad actually had foam that was in still in good condition.
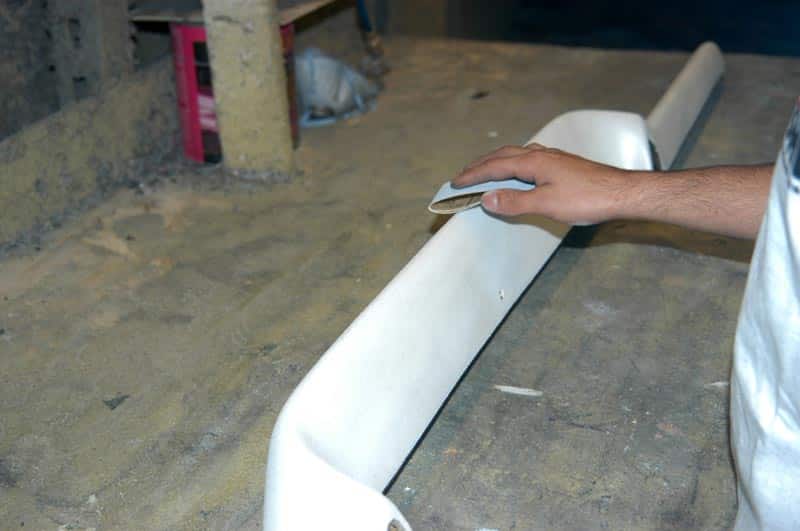
The dash pad is recovered with thin foam that has to be glued to the metal or existing foam. This has to be done very carefully to get the contour and shape of the original dash correct. After the foam is glued to the framework the pad can be sanded to the exact shape that is desired. This will remove any lumps or bumps that might exist. It will also get the curves perfect so the final covering will look correct
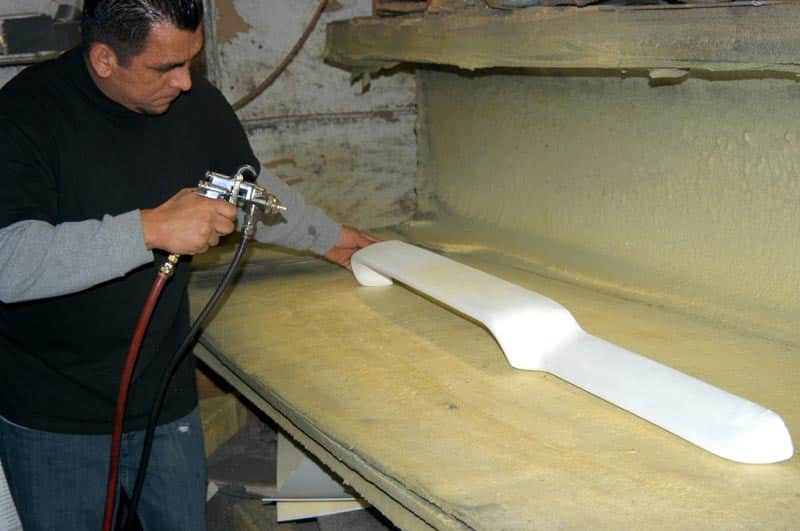
After the correct shape is achieved the dash is covered with upholstery contact cement and is allowed to tack up.
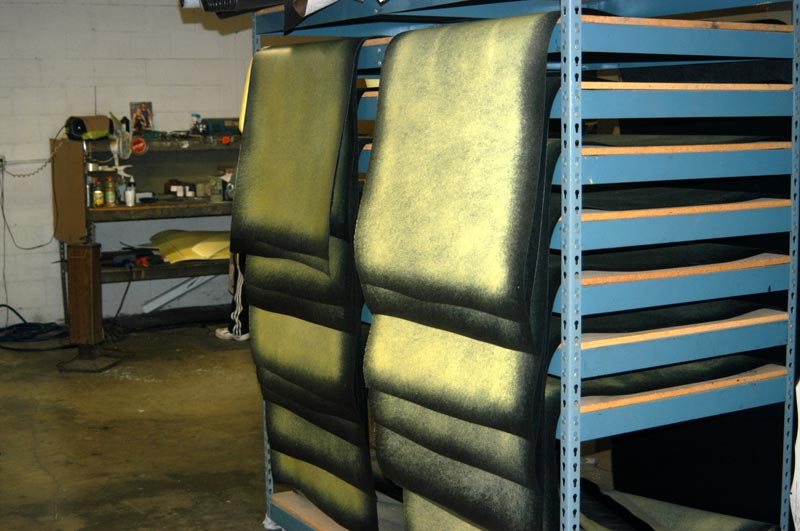
Here is a rack with material ready to be applied to the dashes in the assembly line. Just Dashes has researched all of the early cars and has material matches for the dash covering most of the ’60s and ’70s cars.
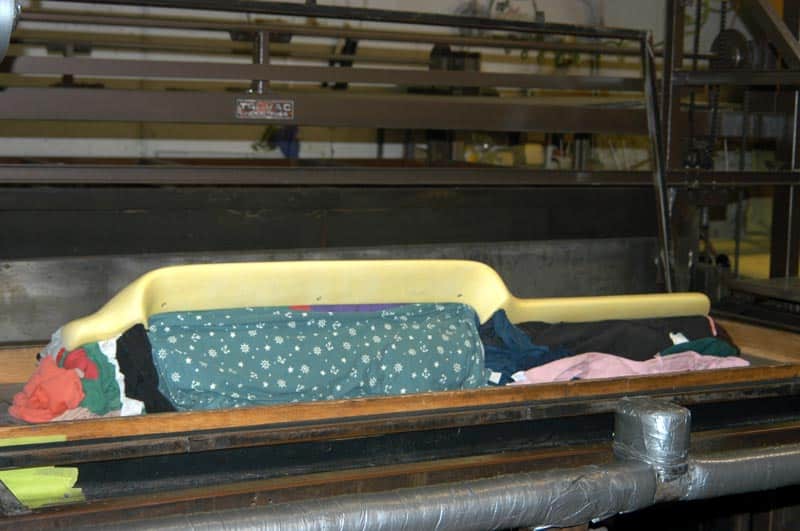
The dash is installed in the Thermo Vacuum Forming machine. It has to be propped up in the correct position and rags are used underneath the pad because the vinyl will not stick to the rags.
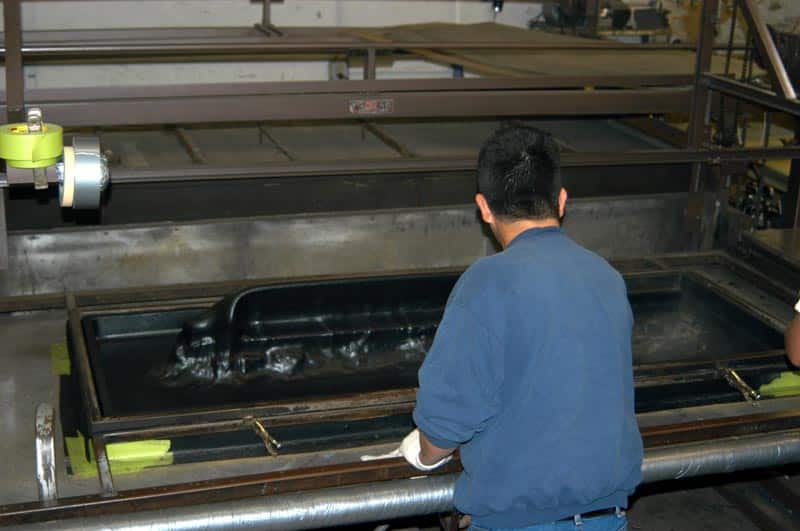
The dash covering material is connected to a rack and then it is fed into a heating oven to get it very pliable. When the vinyl is very hot the dash is lifted into the vinyl.
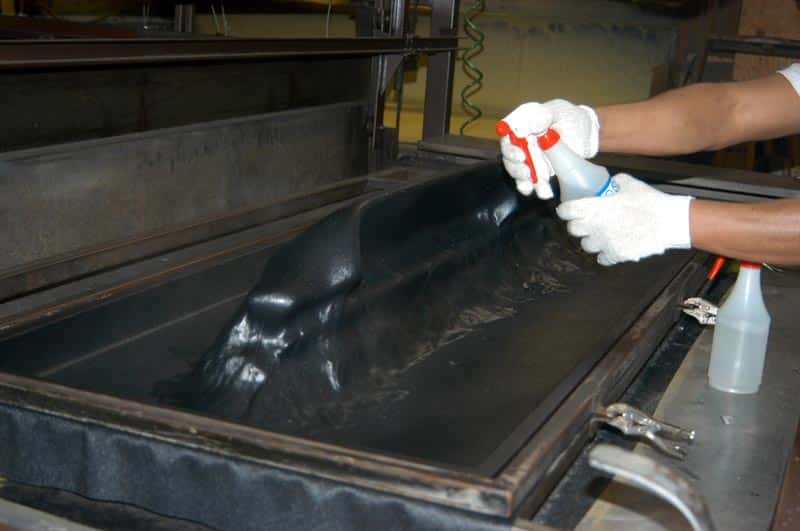
After the material is vacuum formed over the dash, the hot vinyl is cooled with a spray bottle of water. This cooling takes a little time and the entire perimeter of the dash had to be cooled off.
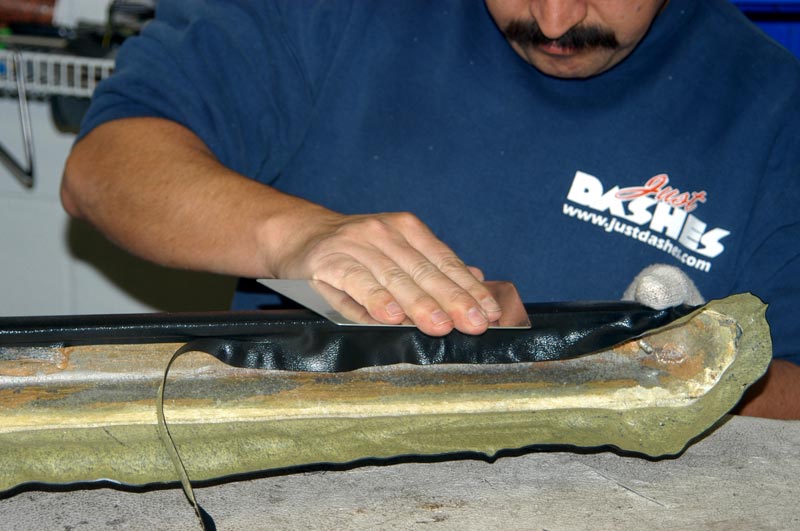
When the material is cool to the touch the surrounding material is cut off with a razor blade. It is important to leave a small amount of excess material so it can be wrapped around the back of the dash pad. Using a heat gun to get the material pliable it was folded over to the back of the framework and was glued in place. This has to be done very carefully to make sure there are no wrinkles in the part of the dash pad that will be seen.
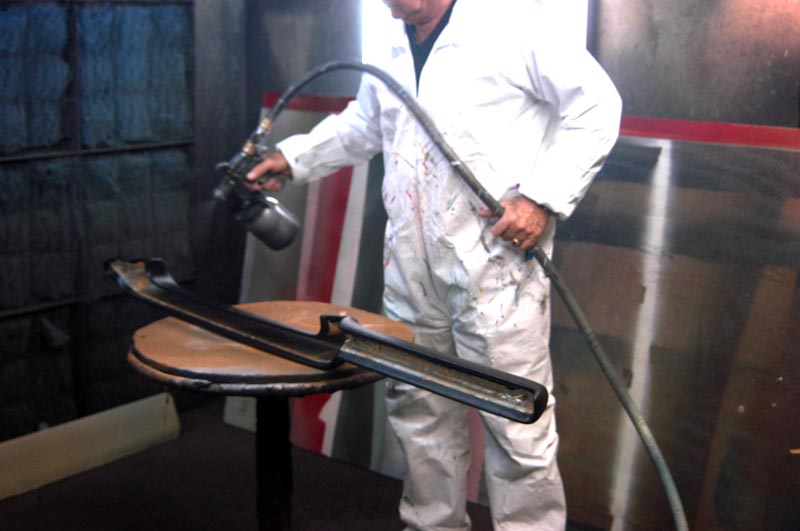
This dash pad is black but the vinyl material is shiny, so it was sprayed with vinyl dye to get a more semi-gloss finish like the original. The restored dash can be returned to your factory original color or a custom color from your supplied color swatch.
