Just Dashes restores our ’71 Olds dash pad
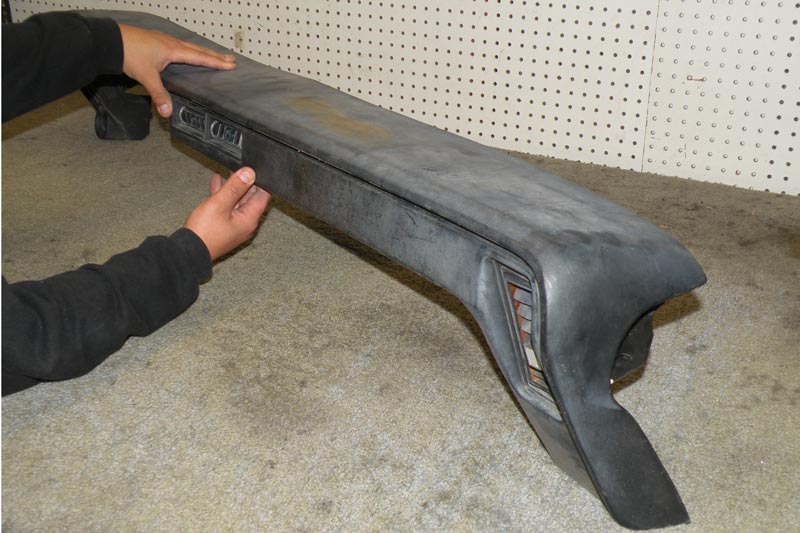
After almost four decades of use, the original dash in our Olds project vehicle needs help. It’s completely dried out, cracking and totally discolored. We contacted the folks at Just Dashes, in Van Nuys, CA to work their magic on the pad. If you have your original vent grilles, include them with your pad for proper fitting during restoration.
Just Dashes will grind the surface of this pad, install a new layer of closed cell, high-density foam and re-skin it in the correct Haircell grain vinyl. Most vinyl pads from the Sixties and Seventies have experienced years of foam expansion and contraction, causing he surface to crack and split. Today’s foam is more resilient and will last for many more years than the original.
Here’s an overview of the mostly hand-done restoration process, coupled with a short video demonstration on the Thermo Vacuum Forming machine doing its incredible work. If you’re interested in having your dash, and/or other interior vinyl parts restored, contact Just Dashes, 800-247-3274.
Each part sent for restoration is thoroughly inspected before the process is started. A work plan for each item, and a work order follows the part from start to finish. Sending original grilles allow for precise fitments into the restored pad.
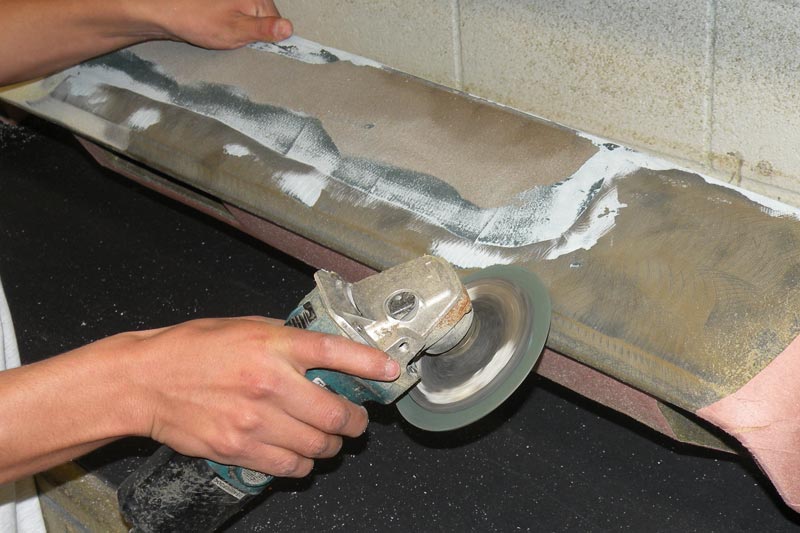
The surface of this ’71 Olds pad is ground down to form a base for the new layer of foam. In many cases, the entire vinyl and foam layers must be completely removed and rebuilt.
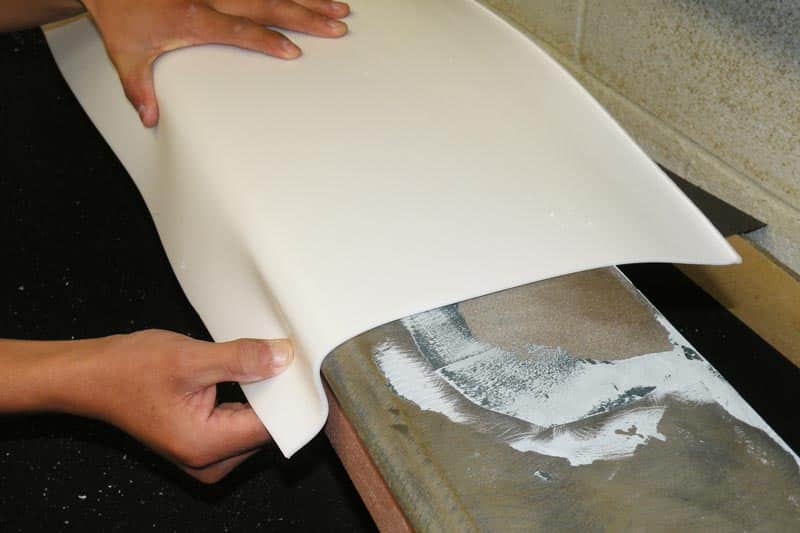
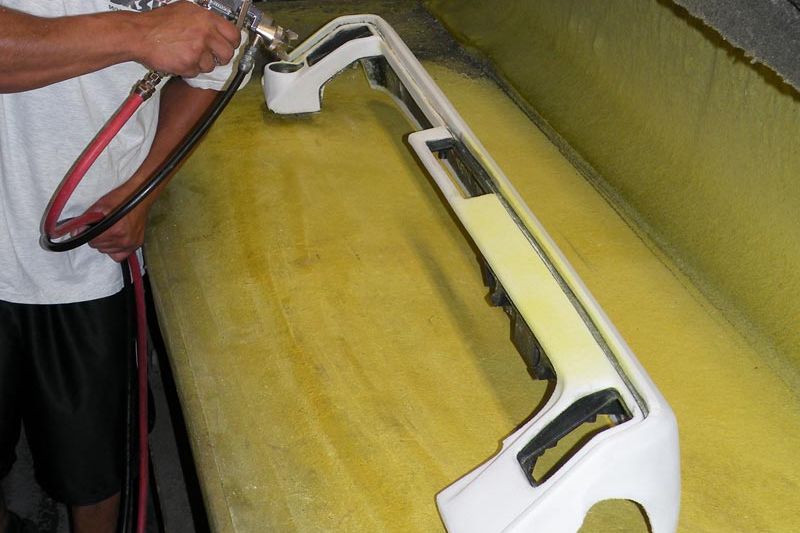
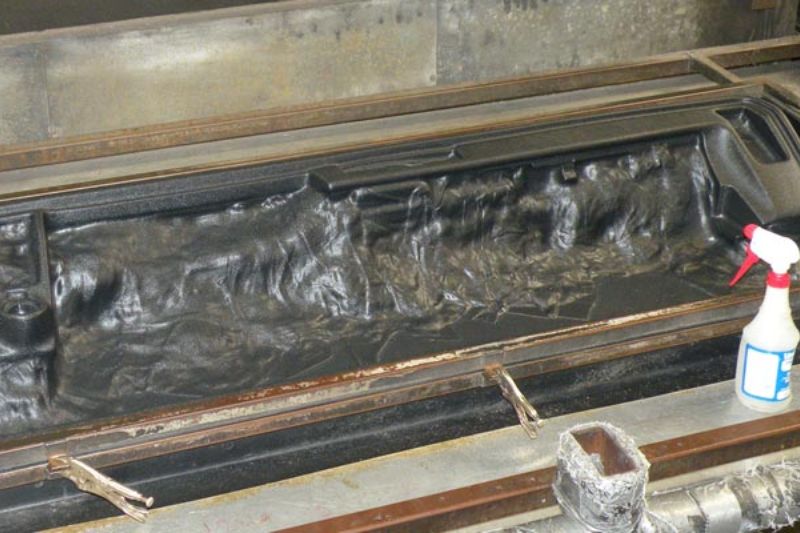
After the pad surface is completely smooth, a new layer of state-of-the-art foam is applied. This is all handwork and must be precise in order to insure a perfect fit when the restoration is complete.
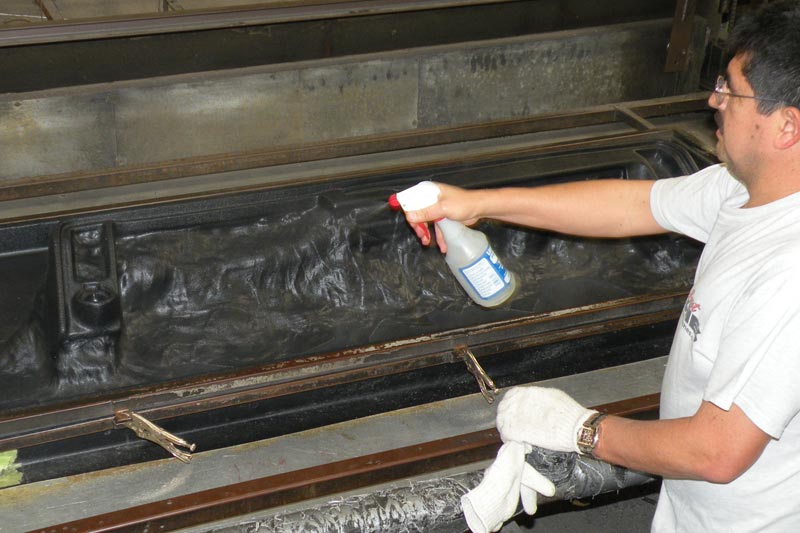
Professional grade adhesive is sprayed on the surface of the pad and then the foam is hand sculpted into position. It is wrapped around every contour and crevice.
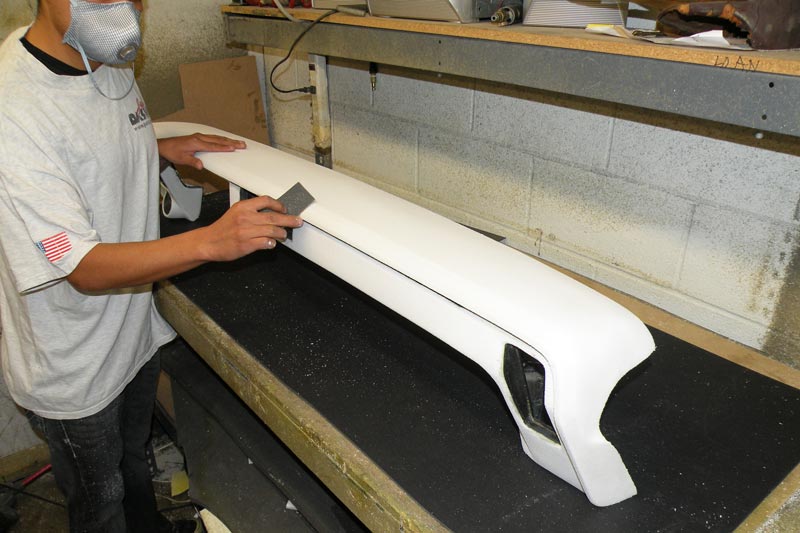
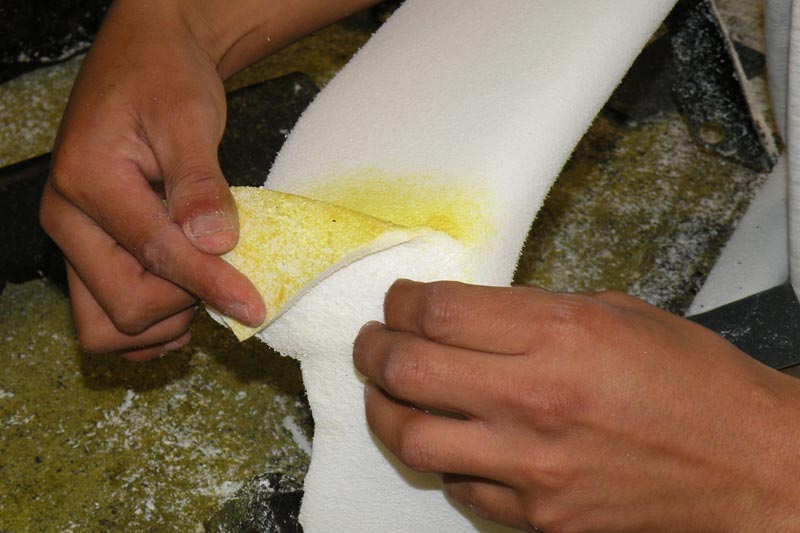
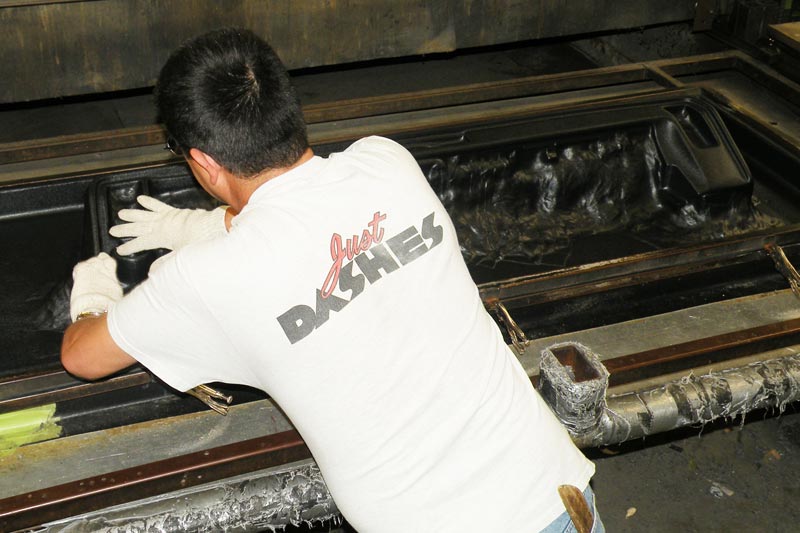
Once the foam application is completed, the pad is hand sanded and shaped to perfection. The surface must be completely smooth and even before the new vinyl is applied. Lots of handwork is required here.
A layer of adhesive is carefully applied, so the glue is completely even all around the part. Any bumps in the adhesive, etc. will ruin the finished surface.
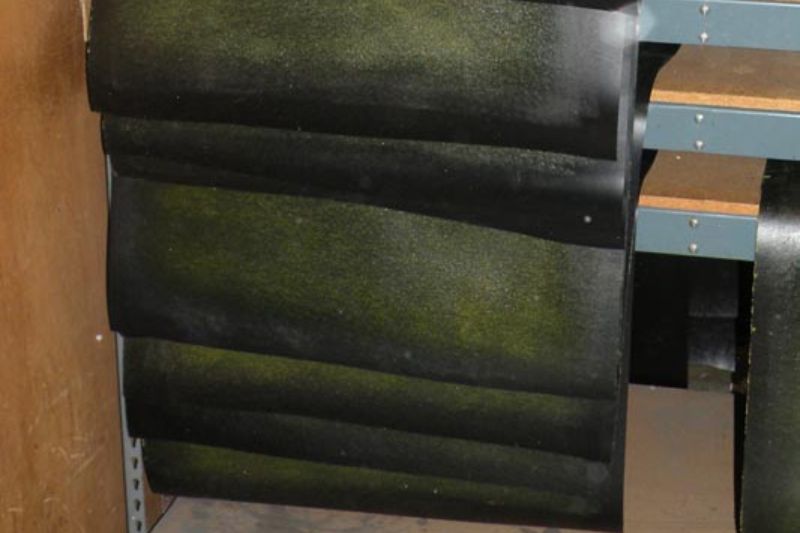
Each job may take a different grain vinyl to be correct. This rack is holding vinyl skins that have had the glue pre-applied, and match the work order of the pad it’s destined to be used on.

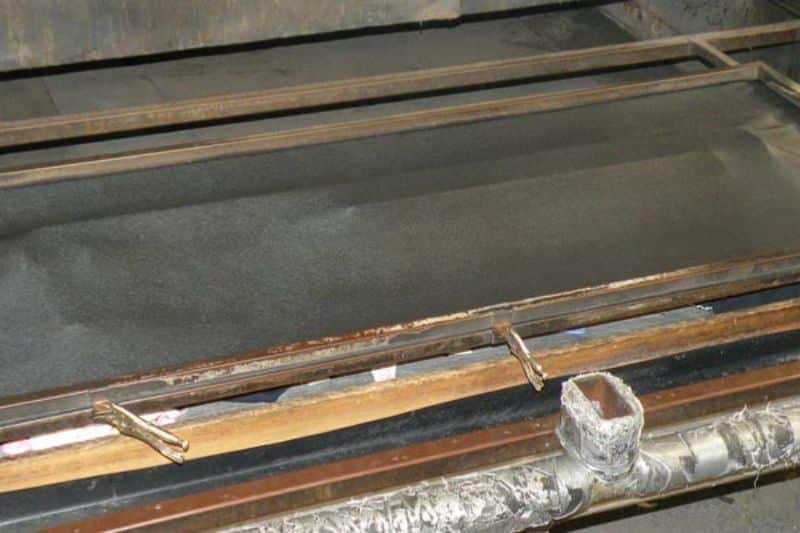
The pad must be supported from beneath with wood and rags to prevent distortion when the powerful vacuum is activated. While this might look primitive, it’s necessary and works great.
A sheet of heated vinyl comes out of the oven and the lower tray with the pad comes up from the bottom. Here you can see the pad just pushing up from under the hot vinyl. The vacuum is now turned on, sucking the vinyl onto every surface and into every contour.
Once the vinyl has adhered to the pad surface it is squirted with cool water prior to removal from the machine.
Here’s the Olds pad cooled and waiting to be trimmed from the overall vinyl sheet. From here it goes to the finishing department and coloring department is necessary. Our pad will remain black.
The vinyl is trimmed around the pad, leaving enough for the finishers to fold and glue the vinyl around all the opening and outside edges.
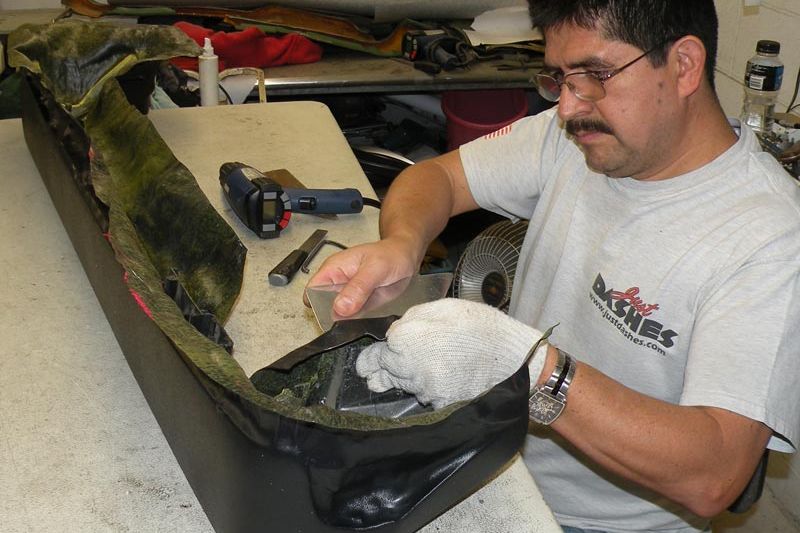
The edges are now hand finished, and the original grilles fitted to perfection. It’s obvious now just how much handwork is required for a concours quality product.
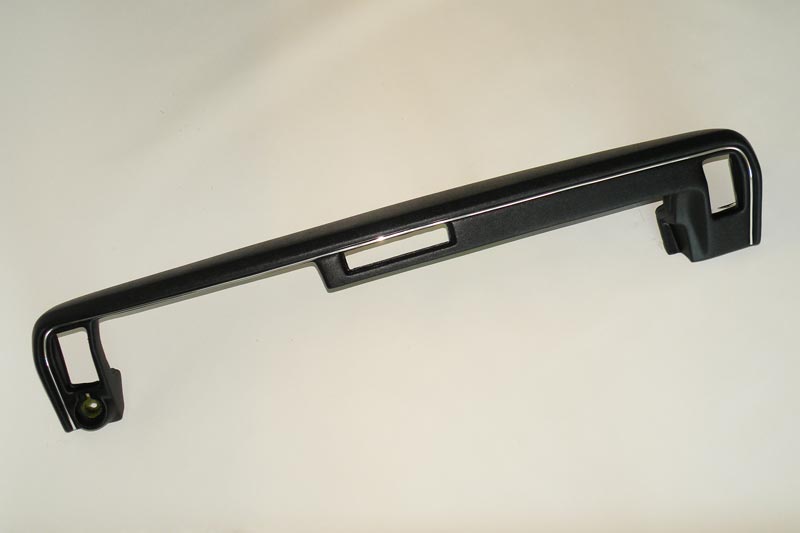
Here’s our finished product. There is a silver beading recessed into the front edge of the pad, which has just been installed. Notice the openings for the vents. This pad is now ready to be reinstalled into our Oldsmobile.